Editor's Picks
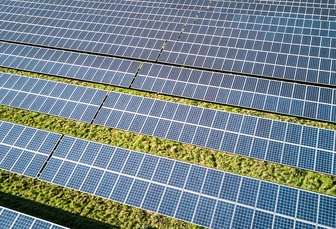
Rural campaigners organising rally in protest at 'mega' solar plants
New petition urges Government to save land for food production and nature protection
 15 April 2024
•
3 min read
15 April 2024
•
3 min read

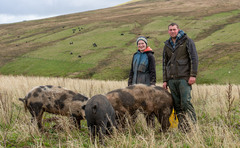
FG Live: New Young Farmers conference to be held in Blackpool
12 April 2024
•
4 min read
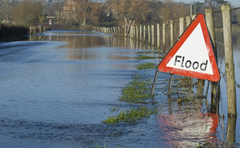
Defra's Farming Recovery Fund criticised after leaving flood affected farmers ineligible for help
11 April 2024
•
4 min read